Here is a tutorial to draw an egg with Gimp.
With the following techniques, you will be able to build a realistic egg for a serious business (!) as well as a cartoonish one typically for a gamification usage ;-)
You will find the full Gimp source attached to this article, which I invite you to reuse at will.
Being a casual user of Gimp, there maight be better approaches to get it done.
For instance, if you're looking for a way to quickly build a textured egg, have a look at this tutorial : http://www.gimptalk.com/index.php?/topic/1659-making-empty-broken-egg-sh....
The shape
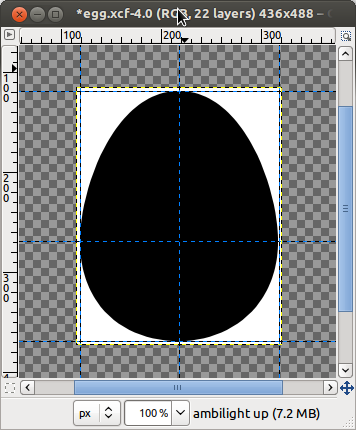
Thie first step is to draw the shape of uour egg.
You can do it in different ways :
As all subsequent steps depend on this one, make sur you get the exact shape you want before going on the next chapter. Especially check that the image resolution is high enough.
If you need a high resolution I would suggest you to build your own image from scratch, as the attached Gimp source is quite low-res. You could use the aforementioned plugin for instance.
As an example, for Android application icons, a 864x864 resolution is recommended.

The volume
The main idea to simulate a volume is to apply a shading (yes : in drawing, everything is impression !).
This part of the tutorial is probably the one that deserves the most to be enhanced, because it has the undesired side effect to blacken colors in place of darkening them. The "Sphere designer" tool might be of a great help to solve this issue (see link at the end).
The edges
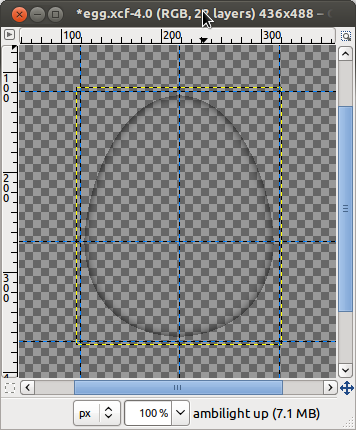
To create this volume effect we are first going to select the drawn shapeand apply the "Light and Shadow > Drop Shadow" filter with a nul offset (x=0, y=0).
This will make the edges come out of the sheet.

The surface
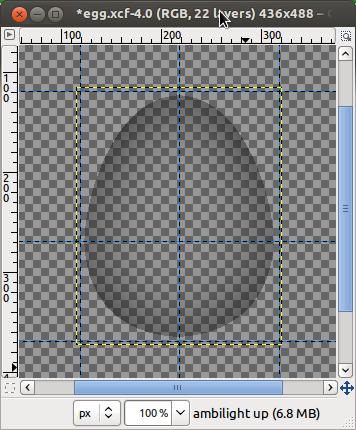
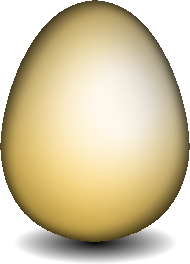
In order to suggest the plumper shape of the egg, we are going to add a new shading, this time made with another technique : we will create a light effect that we will transform into a darkening effect.
In order to do this, select the "Light and Shadow > Lighting Effects" filter and tune the parameters to get the desired effect. The integrated preview of this plug-in is very useful..
For this tutorial I've put the light source right at the center of the egg and tuned the parameters so that the light quickly disappear on its edges.
Once the effect applied, choose menu "Color > Color to Alpha" and select the color of the light (white, usually) : the picture becomes then an alpha layer that will make the volume appear.

The lighting
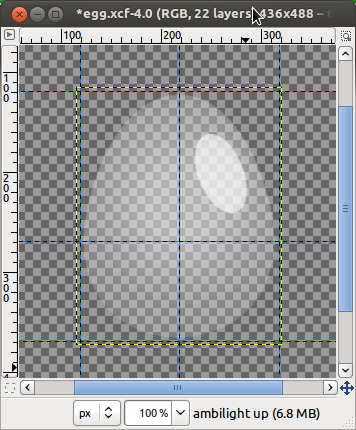
In order to give a realistic appearence, we will add a diffuse light with the "Light and Shadow > Lighting Effects" tool.
It is possible to apply several light sources depending on the final scene where the egg will be put. If the egg is white, chose another lighting color.
As a way to suggest a shiny and bright aspect to the shell, we can add a reflect, simply made of a semi-transparent white ellipse.

The cartoon effect
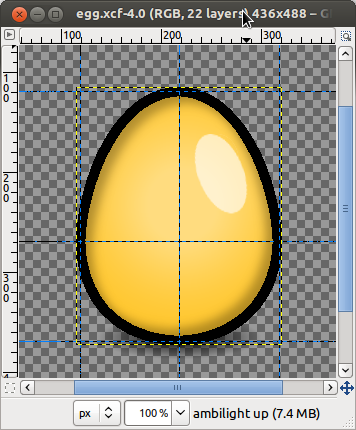
Usually we can give a 'cartoon' effect by adding more importance to the lines.
In our case the first thing to do is to increase the width of the edges, what is easilly done with the "Select > Border" "Sélection > Bordure" tool.
It's also possible to enhance the shadings by tuning with the transparency level and to increase colors intensity.

When sizing down the picture, don't use antialiasing so you get pixel-cut edges on a transparent background.
The texture
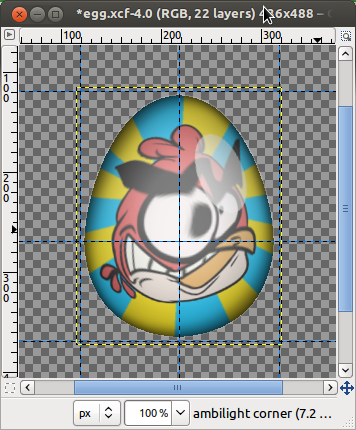
One of the reasons why I've built this egg was to be able to build a series of eggs decorated in different ways for different events.
A method to place a texture on the shell is to use the "Filters > G'MIC > Deformations > Fish-eye" plug-in.
One can easily get the expected result by applying this filter to the layer where the texture is.
Although it does not distort the picture exactly as an egg, the difference is not noticeable.

Reusing
It's over for those tips ; I allow (and encourage) whoever to reuse this picture and to modify it for a personnal or commercial usage.
Take profit of the attached Gimp source and don't hesitate to give me feedback if you're using it : I would be very happy to hear about it !


References
 Me on Twitter

